Arnold
-

Qvisten Animation Conquers Creative Workflow Complexities with OpenUSD
In the distant north of Oslo, Norway, two artists in their twenties embarked on a creative journey in 1994. Within the confines of a small, drafty attic, known as a ‘kvistloft,’ they established Qvisten, a studio dedicated to stop-motion animation. Today, Qvisten produces two or three animated features every year, including their own originals, along…
Maya
-
Autodesk Maya and 3ds Max 2025 Released with Focus on Time-Saving Creative Toolsets
In today’s media and entertainment landscape, the pursuit of top-tier quality across all forms of content shows no sign of slowing down, increasing the resources required to create characters and worlds that meet client and audience expectations. Animation, VFX, and game development studios grapple with an ever-expanding array of personnel and tools necessary for the…
Maya
-
Autodesk Arnold Research Papers
Are you a 3D artist or a rendering enthusiast looking to stay up-to-date with the latest advancements in the industry? Look no further! Here is your all-in-one place to access our research papers and explore the groundbreaking work that has been done in the field. Motion Blur Corner Cases Christopher Kulla and Thiago Ize This…
Arnold
-
Autodesk M&E Rewind: Top 10 Highlights of 2023
The entertainment scene never slows down, and Autodesk Media & Entertainment is committed to fuelling your creative fire, streamlining operations, and driving business growth amidst the whirlwind. Reflecting on the past year, you’ve created awesome films, shows, and games with new tools and workflows. Let’s rewind and explore the tech highlights that emerged in 2023. …
Maya
-
Render in a Flash with Updates to Arnold
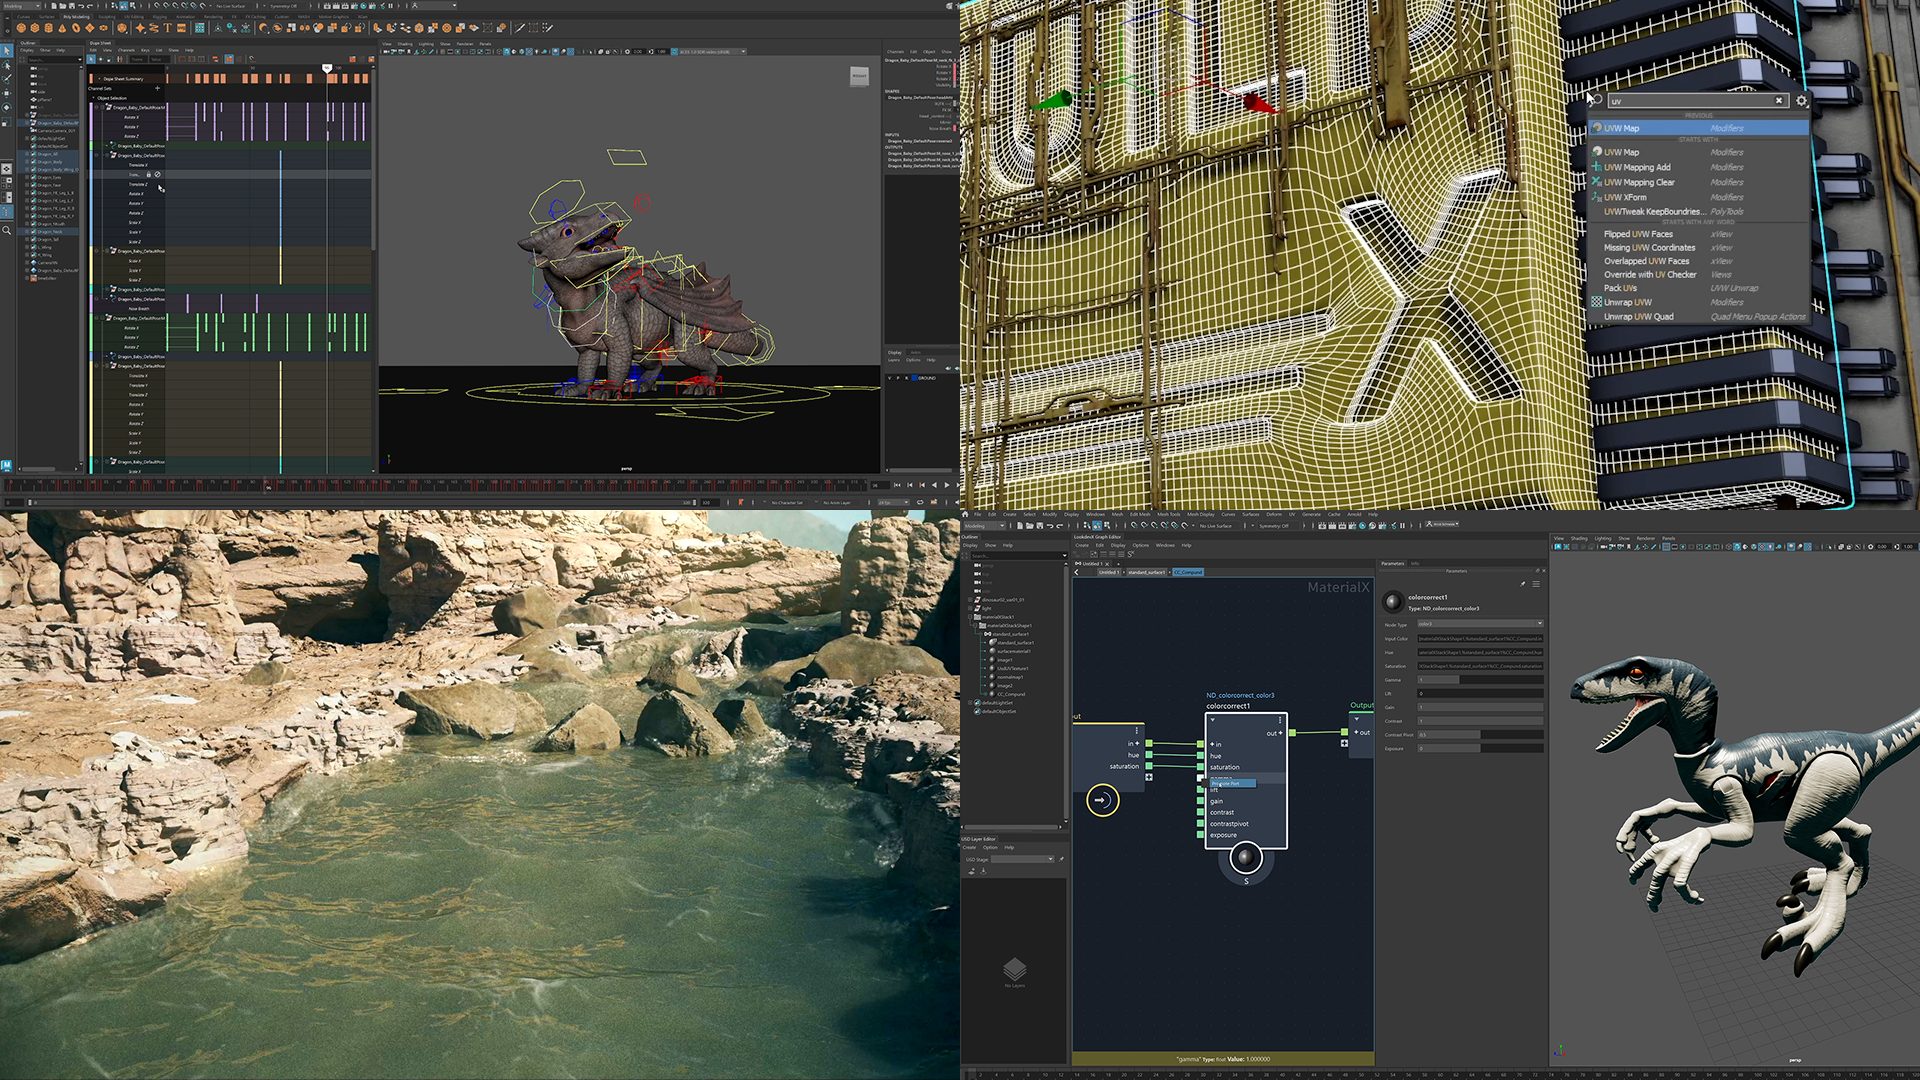
Arnold 7.2.5 is here! The latest release brings a much-improved GPU renderer, faster volume rendering, high quality curves, light AOVs in the toon shader, a text overlay imager, USDZ, and many more user experience improvements. Dive into the latest enhancements and updates below! Access a redesigned GPU Renderer GPU rendering Arnold gets a complete overhaul,…
Arnold
-

Harnessing the power of analysis, augmentation, and automation: Autodesk AI helps artists focus on their art
Media consumption habits have changed forever. The era of streaming, the pandemic and a new generation that considers on-demand, multi-screen, and immersive content as standard have brought about demands to the media and entertainment industry that are increasingly difficult to fulfill with traditional business and production methods. More content, more visual effects, with no more…
Maya
-
Navigating AU 2023 Digital: What to Watch
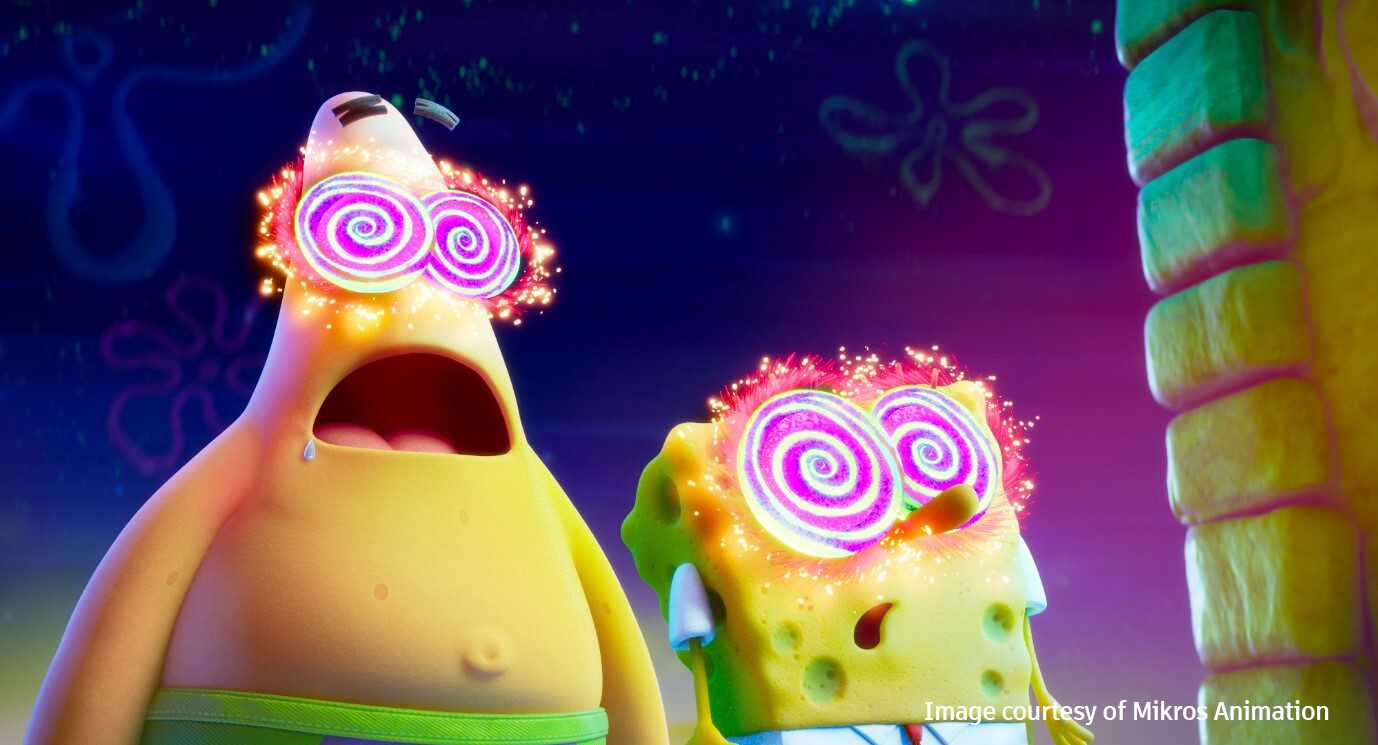
Autodesk University is just around the corner and the likes of Artists Equity, The Mill, Mikros Animation, ShadowMachine, and more are getting ready to inspire you. What’s even better? You can snag a free digital pass to be part of all the fun from home. In the midst of a wild array of 600+ learning…
Maya
-
The Media & Entertainment Guide to AU 2023
We’re thrilled to expand AU 2023 to offer a wealth of content for media and entertainment professionals to connect, interact, and discover how top studios around the world use Autodesk's Design & Make Platform to create compelling stories in animation, VFX, games, and design visualization.
Flow Production Tracking (Formerly ShotGrid)
-
Untold Studios Raises the Visual Bar with Collaborative Cloud Workflows
Innovation runs in Untold Studios’ DNA. The world’s first fully cloud-based creative studio strives to provide an environment where happy accidents are welcome, even encouraged. This ethos has helped the company attract diverse talent and break new ground in animation and visual effects (VFX). Since launching in 2018, the studio set out to deliver world-class…
Maya
-

Render Colorful, Life-Like Results With Updates to Arnold
Autodesk is focused on helping you deliver highest-quality production values and improve pipeline flexibility and scalability. With Arnold 7.2 and 7.2.1, you can enjoy native support for Apple silicon in Maya as well as stregthened USD and MaterialX support. Plus, a new distance shader and enhancements to color management workflows in 3ds Max empower you…
Arnold